
 Riskrunner
Assessments#
The first thing to do in Riskrunner, is to create an assessment. An assessment is a way to group your risks together in a logical way. For example, you can create an assessment for a project, an asset or a site. The exact way to group your risks depends on your organisation and how you want to use Riskrunner.
See also
Read more about why we use the term assessment here.
Adding an assessment#
When you click on Assessments in the main menu, this is what you’ll see:
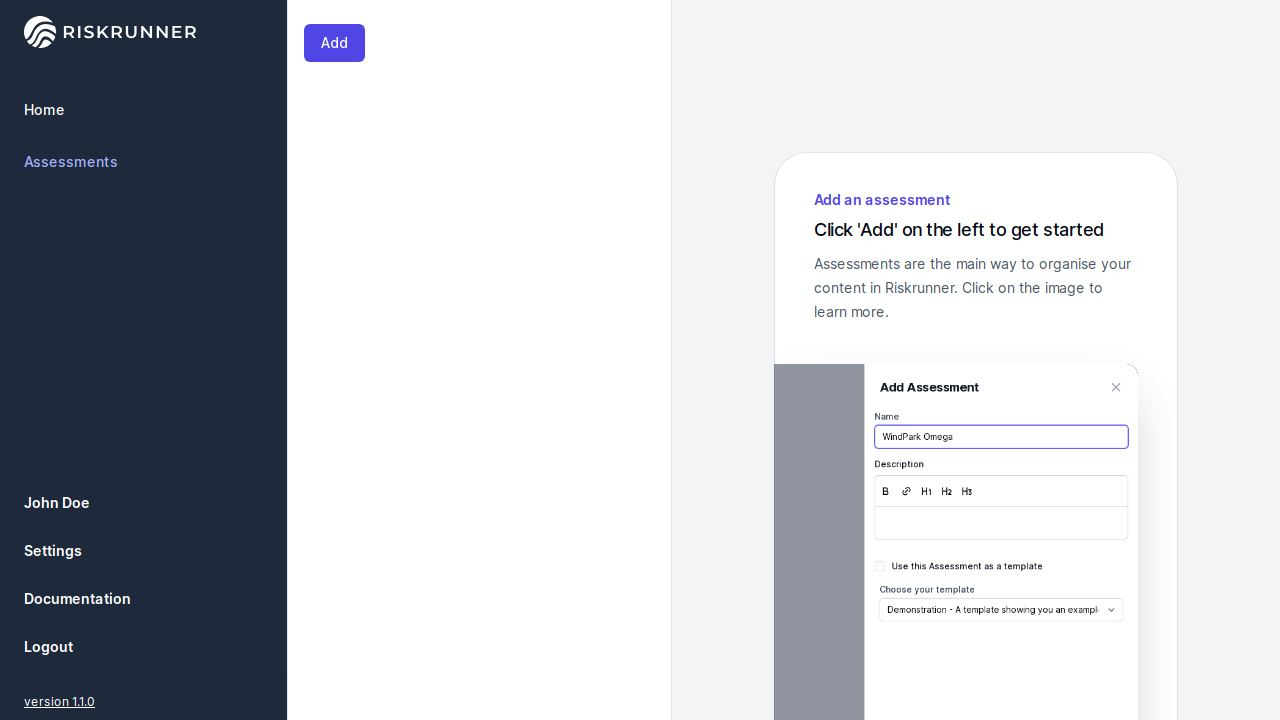
To add a new assessment, click Add which will bring up an editor:
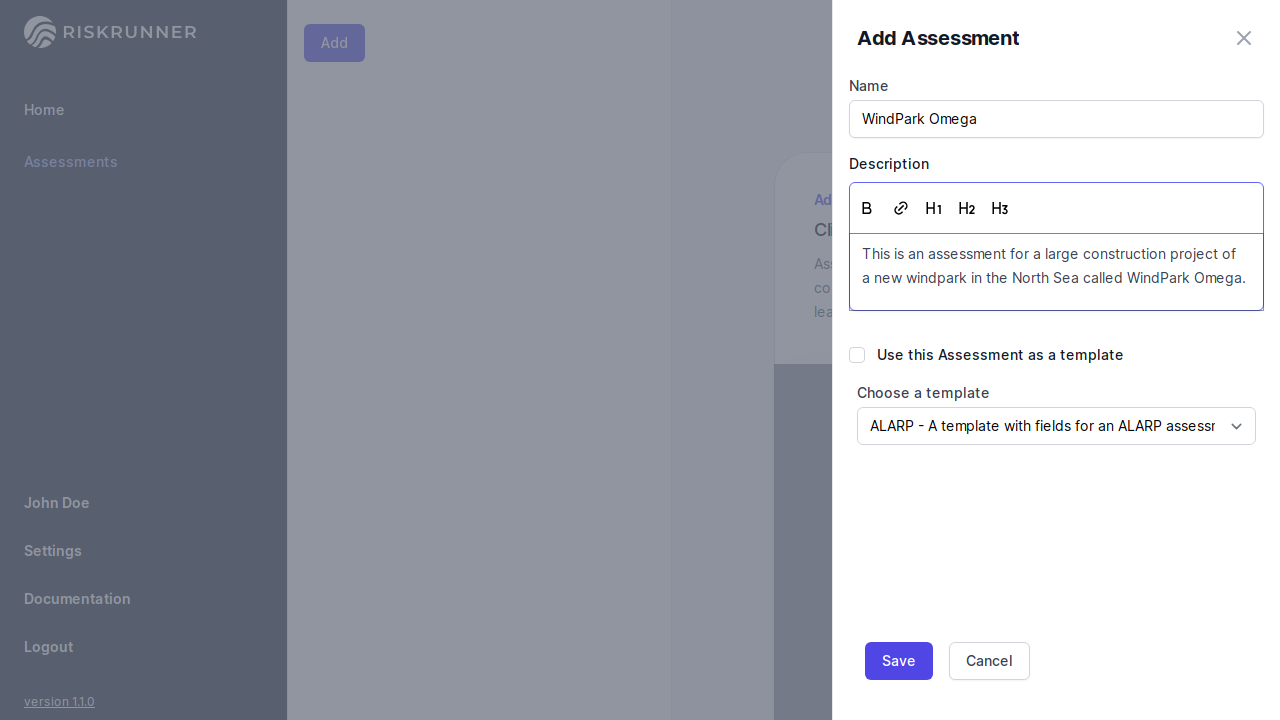
When you create an assessment, it’s a good idea to describe the scope and purpose of what you’re assessing, and who the intended audience is. That will make it easier to decide how to do the assessment regarding the risks to include, what type of language to use and the required level of detail.
See also
The description box where you describe the scope and purpose is a richtext editor, which you can learn more about here
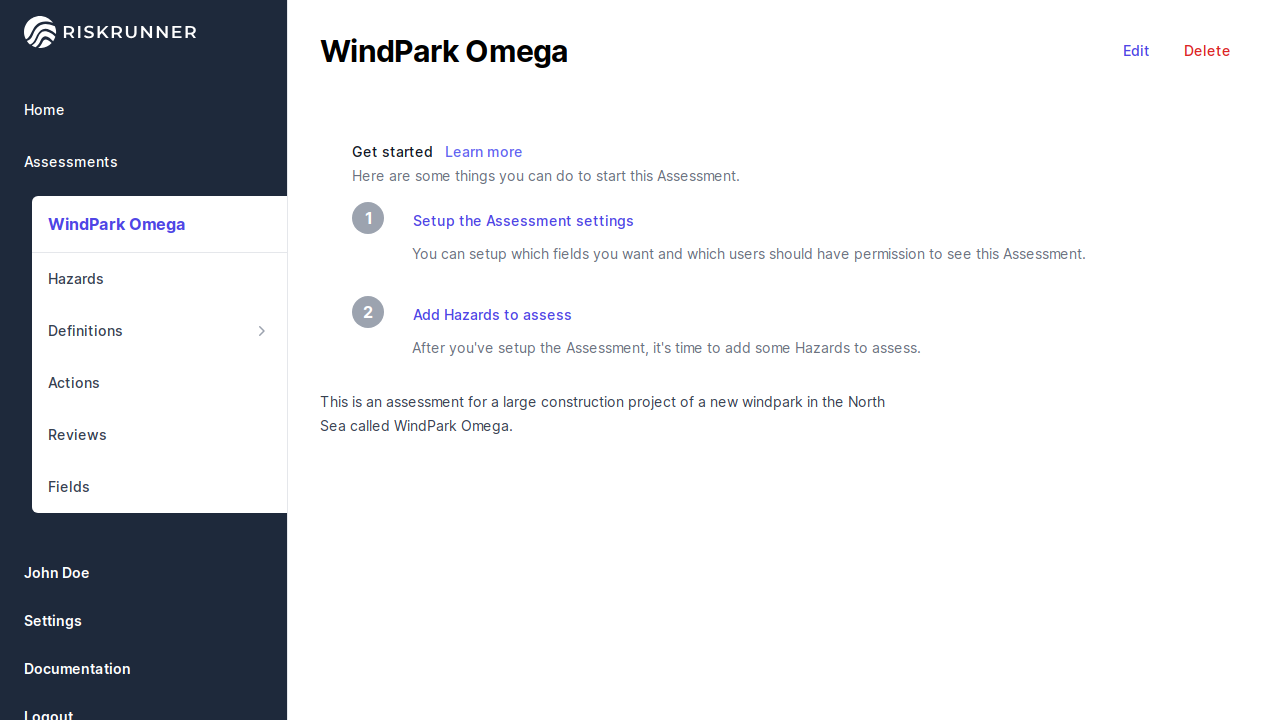
If you click save, you have a new assessment that you can edit or delete. The next step would be to add a hazard or review.
Nested assessments#
If you’re an admin, you can drag assessments onto each other to create nested assessments.
<TODO: show screenshot of parent suggestions in the modal>
A nested assessment will use its parent assessment to search for suggestions when adding new content. So e.g. when adding a new barrier, you’ll get suggestions for barrier names that exist in the parent assessment. When selecting e.g. a barrier from the parent, the description and any field values that exist in both, are copied.
<TODO: show screenshot of parent suggestions in the modal>
Assessment templates#
When creating an assessment, you can also choose a template which will copy any content from the template assessment into your new assessment. The difference between nested assessments and assessment templates, is that nested assessments don’t copy any content by default, but make suggestions as you create new content, whereas templates will copy all content in when a new assessment is created. This means you can use them as complementary features.
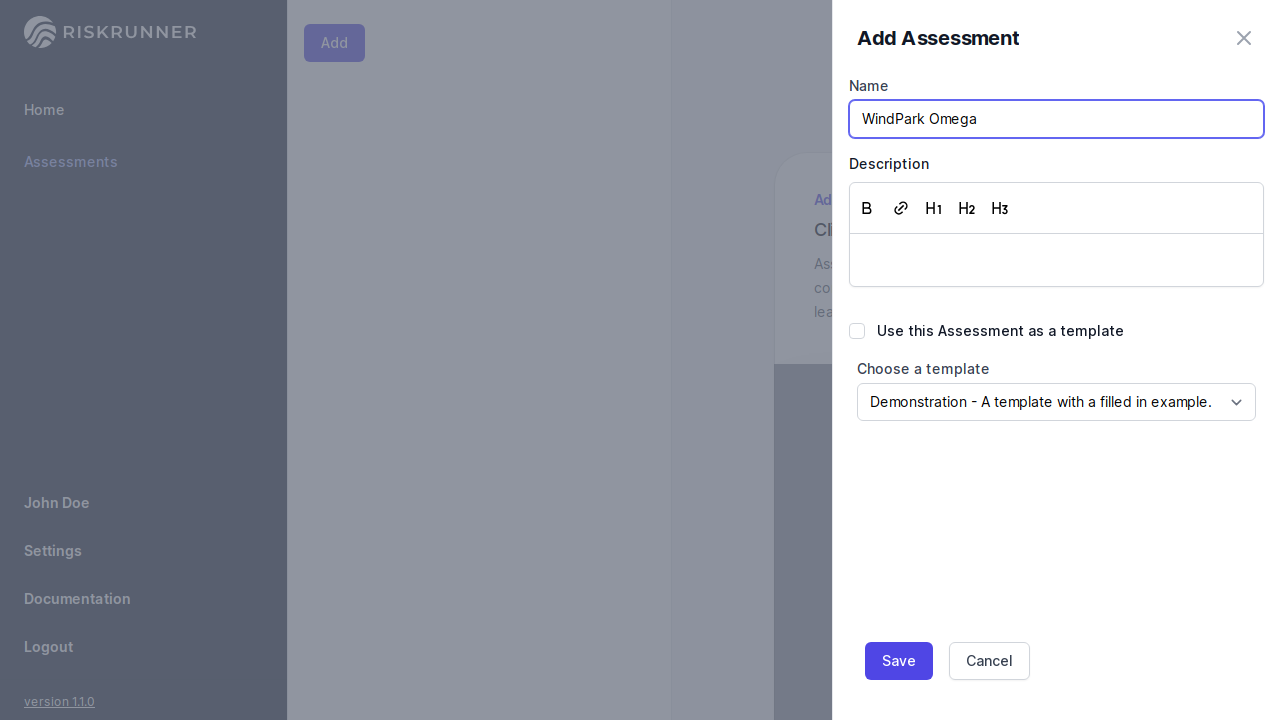
There are two types of templates available:
Builtin templates#
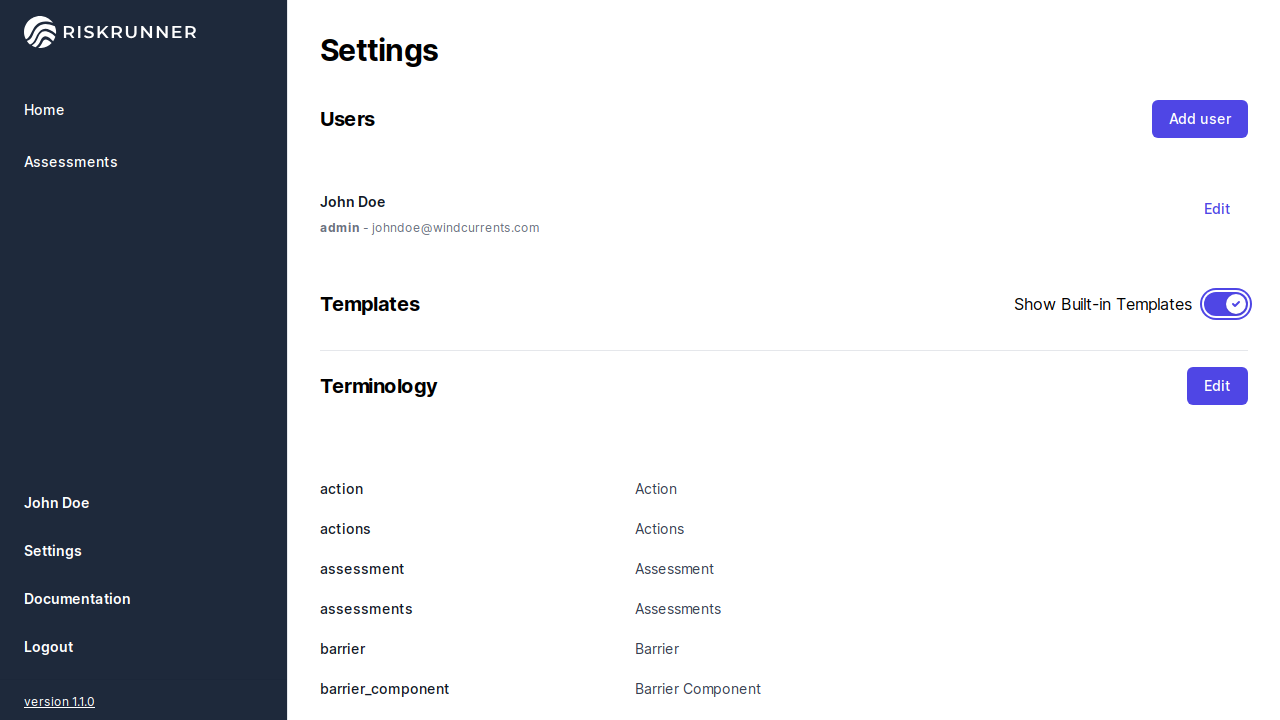
These are predefined templates designed to help you get started quickly. The demonstration template is convenient to try out first, since it’ll have some example content to explore. You can disable these templates in your personal settings by toggling off the “Show Built-in Templates” option.
Company templates#
When adding an assessment you can choose to make a template out of it. This new template assessment will then appear when adding an assessment. If you choose it, the assessment will be initialise with all the data inside the template assessement, giving you a way to setup assessement for your company.
Warning
History won’t be kept, only hazards, definitions, fields in their current state. Any changes in current active review won’t be taking into account.